If you’re looking for an engaging sensory play activity that’s both fun and safe for little ones, this DIY taste-safe kinetic sand recipe is perfect! It’s easy to make, uses simple pantry ingredients, and keeps kids entertained for hours.
Why Make Your Own Kinetic Sand?
Store-bought kinetic sand is fantastic, but if you have toddlers or sensory-seeking kids who love to explore with their mouths, having a taste-safe version gives you peace of mind. Plus, it’s a budget-friendly and customizable option!
Note: This post contains affiliate links. If you click and make a purchase, I may earn a small commission at no extra cost to you.
Ingredients You’ll Need:
- 1 cup baking soda
- 1/2 cup cornstarch
- 1/2 cup sugar
- 2–4 tablespoons warm water (mix with food coloring of your choice)
- 1 tablespoon cream of tartar

Step-by-Step Instructions:
- Mix the dry ingredients
In a large mixing bowl, combine the baking soda, cornstarch, sugar, and cream of tartar. Stir until evenly distributed. - Prepare the colored water
In a small bowl, add a few drops of food coloring to the warm water. Adjust the intensity of the color by adding more or fewer drops. - Combine wet and dry ingredients
Gradually add the colored water to the dry mixture, 1 tablespoon at a time. Mix with a spoon or your hands until the sand reaches your desired consistency—moist and moldable, but not sticky. You may not need all the water, so add it slowly! Use a whisk to stir to get rid of clumps. - Test and play
Once the mixture holds its shape when squeezed, it’s ready for playtime! If it feels too dry, add a few drops of water. If it’s too sticky, sprinkle in a bit more cornstarch.
How This Kinetic Sand Helps Me as a Parent
As a screen-free parent, I’m always looking for easy activities to fall back on that will keep my toddler engaged in a pinch. This kinetic sand has been a lifesaver! My 3-year-old can play with it for an hour at a time, molding it into shapes, pretending to bake “cakes,” and exploring different textures. That precious hour allows me to enjoy a hot cup of coffee, catch up on work, or simply relax. It’s a win-win for both of us!

5 Creative Activity Ideas with Kinetic Sand
- Building Sandcastles: Provide small molds or cups to build mini sandcastles at the kitchen table.
- Treasure Hunt: Bury small toys or beads in the sand and let your child dig them out with spoons or fingers.
- Pretend Baking: Set out cookie cutters and rolling pins for your child to make “sand cookies” or “cakes.”
- Shape Sorting: Use shape molds to press the sand and help your toddler learn shapes and colors.
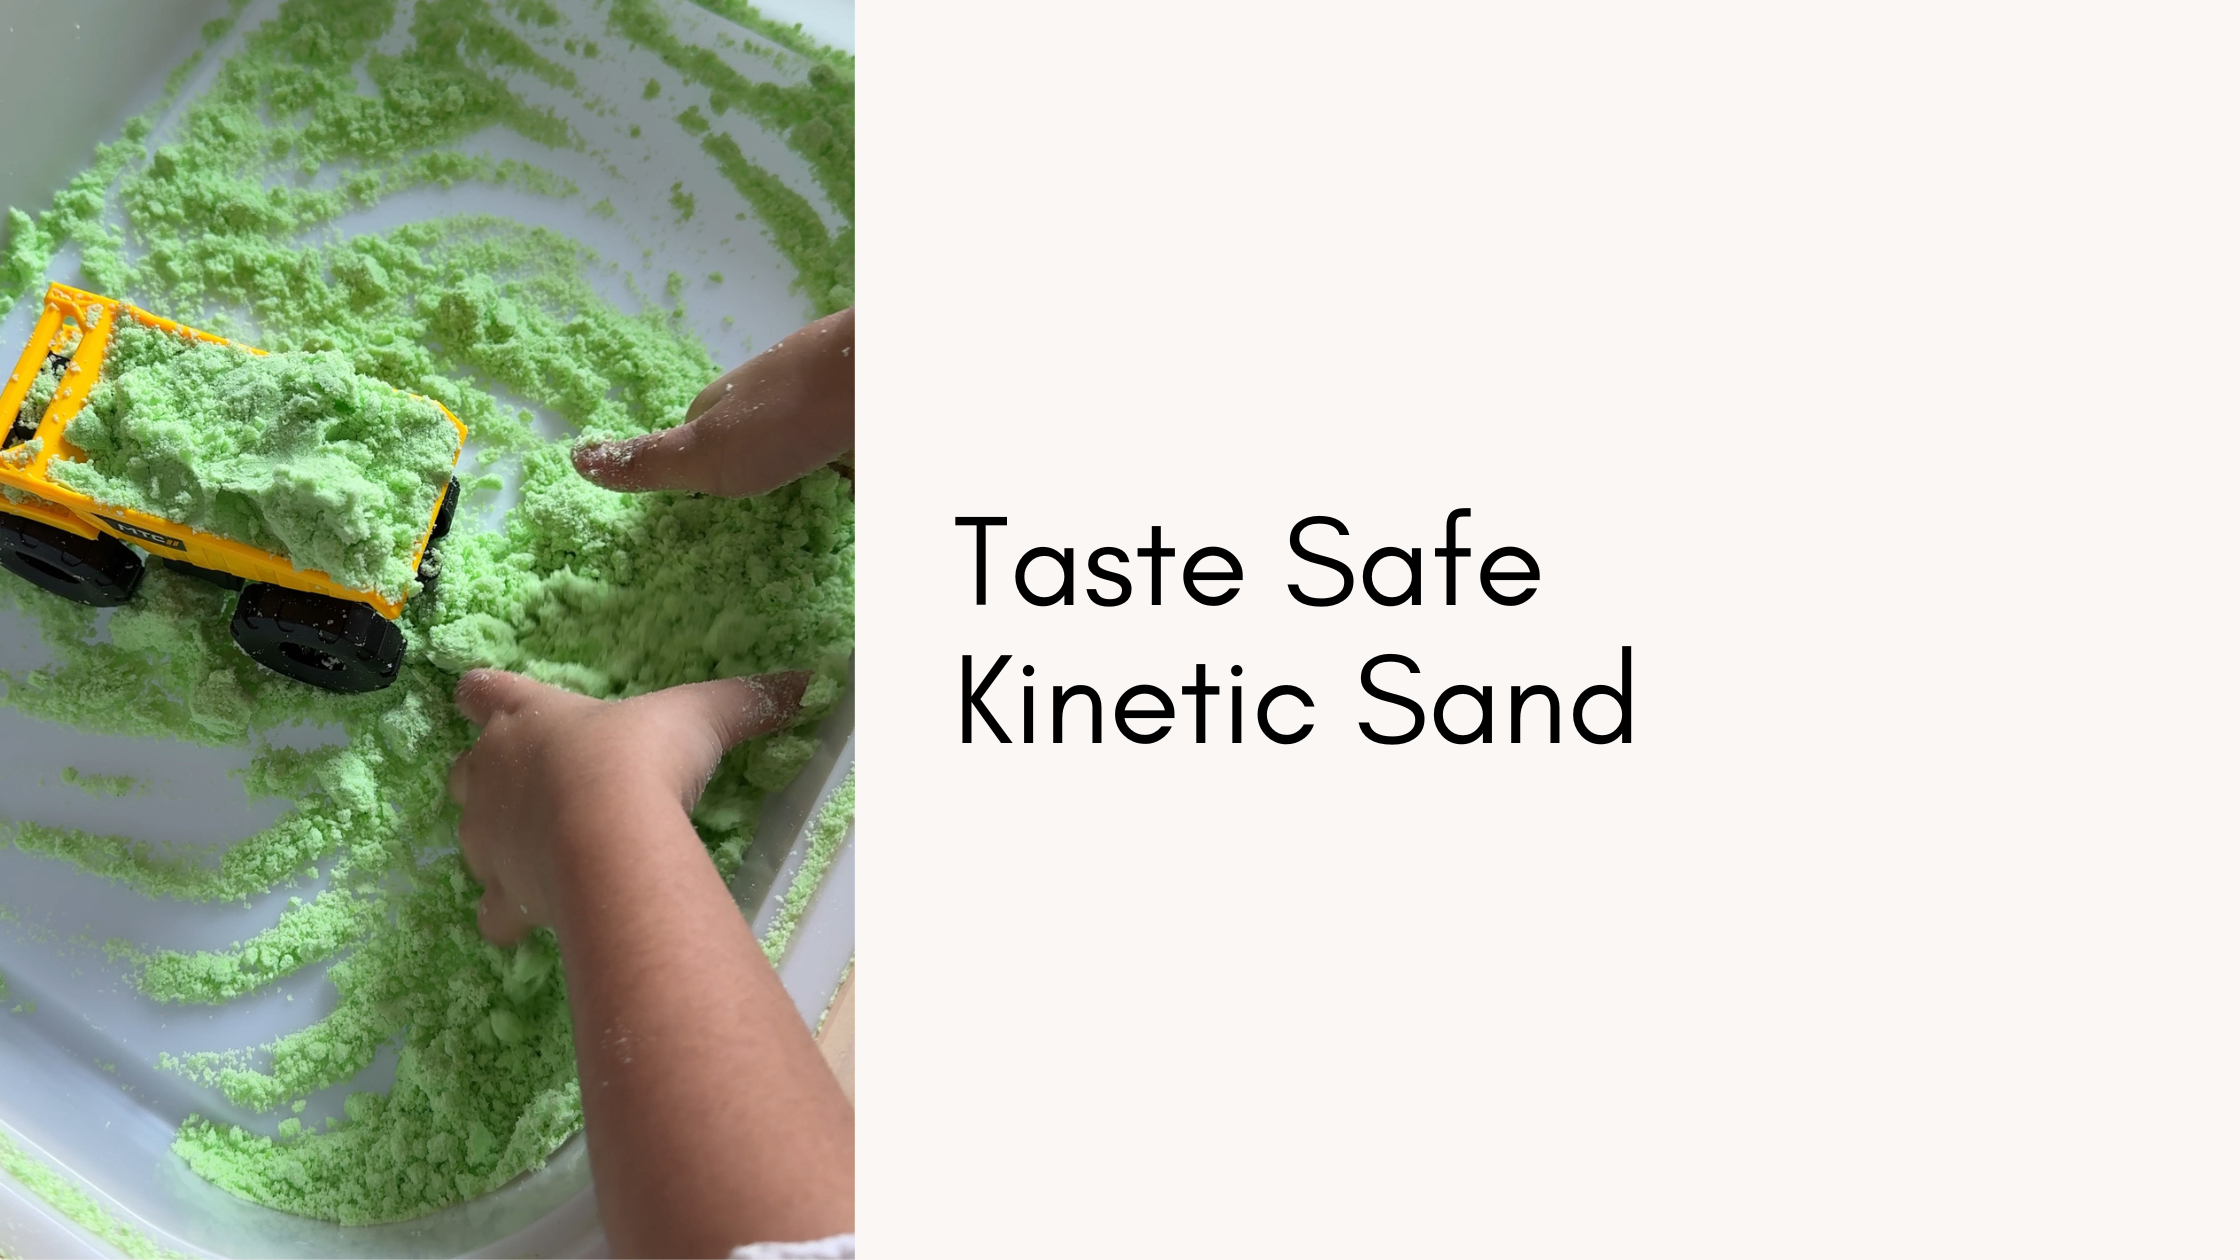
- Construction Zone: Add toy trucks or diggers to the sand for a mini construction-themed play session.

Tips for Play and Storage:
- Add variety: Use different food coloring to make multiple shades of kinetic sand.
- Creative play: Pair the sand with small molds, cookie cutters, or scoops for extra fun.
- Storage: Keep the kinetic sand in an airtight container to maintain its consistency. If it starts to dry out, mix in a bit of water to revive it.
- Managing the mess: I love using our Rudie Nudie Waterproof Mat under any sort of sensory play to catch the mess and make clean up much easier.
A Few Notes on Taste-Safe Materials
While this recipe is taste-safe and non-toxic, it’s not intended to be eaten in large quantities. Always supervise younger kids during play and ensure they understand that this is for sensory fun!
Final Thoughts
This DIY taste-safe kinetic sand is a hit for toddlers, preschoolers, and even older kids. Whether you’re setting up a sensory bin at home or looking for an activity to bring along for a playdate, this recipe is sure to be a favorite. Bonus: cleanup is a breeze with just a damp cloth or vacuum.
Let me know how it goes—happy playing!

Latest Posts
- Best Calm TV Shows for Kids (Toddlers and Preschoolers)
- Umrah With Kids During Ramadan: What We’d Do Differently
- Audio Books: Screen-Free Toddler Activity That Is Free
- What can I do instead of screen time for my toddler?
- Is Going to Brussels Actually Worth It With Kids?
Leave a Reply